Troggoth Painting Skin Guide
As I am currently unable to get hold of a webcam due to them being snapped up by everyone working from home, I thought I would try and do a blog post on how I paint skin. Following up on my earlier post on the technical side of things with the Sara bust I painted, this is how I go about it.
Using the troggoths that I have been painting recently my process can be summed up in a few steps:
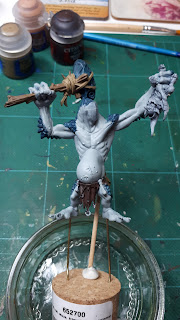
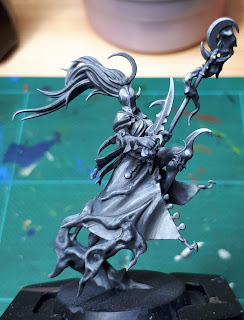
1) lay down a good base coat, in the troggs case, this was Celestial Grey
2) sketch in the shadows
This is probably one of the main steps. As this is where I establish where my shadows and highlights are going to go and will set me up for the rest of the painting.
Using my own mix of Navy Blue (scale colour), Naggroth Night and Magos Purple, I sketched in where I wanted the shadows to be:
As you can see this stage is pretty messy, as I'm using a very thinned paint in order to establish the values I need on the mini. Don't feel disheartened at this point as you are going to tidy it up!
In order to establish your highlights and shadows you need to figure out where your light source is coming from, in this mini it is coming off to the right hand side (as you look at the picture. You can of course have various light sources, as light bounces all over the place, but when you are starting out, I recommend only dealing with one light source and don't overwhelm yourself with too many.
3) sketch in the highlights.
In this photo I used Cadian Fleshtone for my highlight and placed it where I knew light would be hitting the troggoth from my imaginary light source. Using a lamp for this step will be helpful.
4) clarify the shadows and highlights
by this I mean tidy up basically, cleaning up the messiness by applying more layers over the sketch to smooth it all out and blend in-between the two. For this I mainly used Warpfiend Grey, it's a great mid-tone for this scheme.
I hope this is helpful. Any questions I'm always happy to help.


Comments
Post a Comment